
It is fitting that we celebrate National Chili Day every year on the fourth Thursday of February since there’s nothing better than enjoying fiery fare during one of winter’s coldest months. - http://www.nationalchiliday.com
Ingredients
- 2 tablespoons olive oil
- 1 large or 2 medium sweet onion(s), chopped
- 8 large garlic cloves, chopped
- 3 large bell peppers, chopped (assorted colors)
- 2 pounds ground chuck
- 1 pounds ground turkey
- 1 pound ground pork or pork sausage of your liking.
- 7 tablespoons chili powder
- 2 tablespoon ground cumin
- 2 teaspoon dried basil
- 1 teaspoon dried oregano
- 1 teaspoon dried thyme
- 1 teaspoon cayenne pepper (adjust accordingly)
- 1 teaspoon Savory Spice Shop Cajun Style Blackening Seasoning, Extra Hot or Slap Ya Mama (adjust accordingly)
- 1 bay leaf
- 1 cinnamon stick
- 2 28-ounce can crushed tomatoes with added puree
- 1 14½-ounce can low-salt chicken broth
- 1 12-ounce bottle dark beer [Great Divide Brewing Company's Yeti Imperial Stout]
- 1 6-ounce can tomato paste
- 1 15- to 16-ounce can prepared beans, I prefer organic tri-bean blend.
- 1 to 3 1 ounce square bittersweet chocolates
Garnish
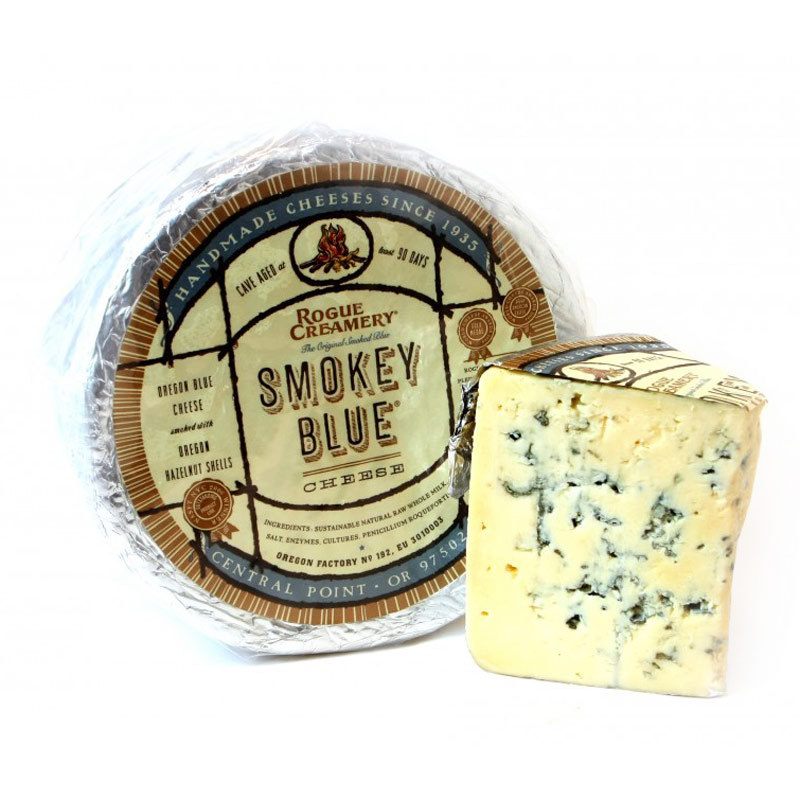
- 1 ½ cup crumbled blue cheese [Rogue Creamery Smokey Blue]
Preparation
- First things first, pour yourself a Yeti. You bought a 4-pack and only one is needed here.
- Heat oil in heavy large Dutch oven over medium-high heat.
- Add onions and garlic. Sauté until onions are translucent, about 6 minutes.
- Add bell peppers until peppers become soft about 4 minutes.
- Add chuck, turkey and pork and sauté until brown, breaking up meat with back of spoon, about 10 minutes.
- Add chili powder, cumin, basil, oregano, thyme, bay leaf and cinnamon stick. Stir 2 minutes.
- Mix in crushed tomatoes, chicken broth, beer and tomato paste.
- You've made it through the technical part, and your glass is surely empty. Pour another Yeti.
- Simmer until thickened to desired consistency, stirring occasionally to prevent sticking, about 1 hour 15 minutes.
- Mix in beans and bittersweet chocolate and cayenne pepper. Simmer 5 minutes. Season to taste with salt and pepper.
- Garnish with crumbled blue cheese and serve.
- There’s still one more Yeti.
For even better Yeti Chili
Prepare 1-3 days ahead. Refrigerate until cold, then cover. Pick up some more Yeti, Rewarm over low heat before serving.


